Two part flashing systems consist of a base flashing often step flashing that is laced into the finished roof material.
How far should flashing lay on roof.
The 7 inch length ensures a 2 inch headlap on each course.
Second step flashing needs to extend 8 to 14 inches above the shingles according to the national roofing contractors association nrca.
Recommended procedures of basic valley flashing installation.
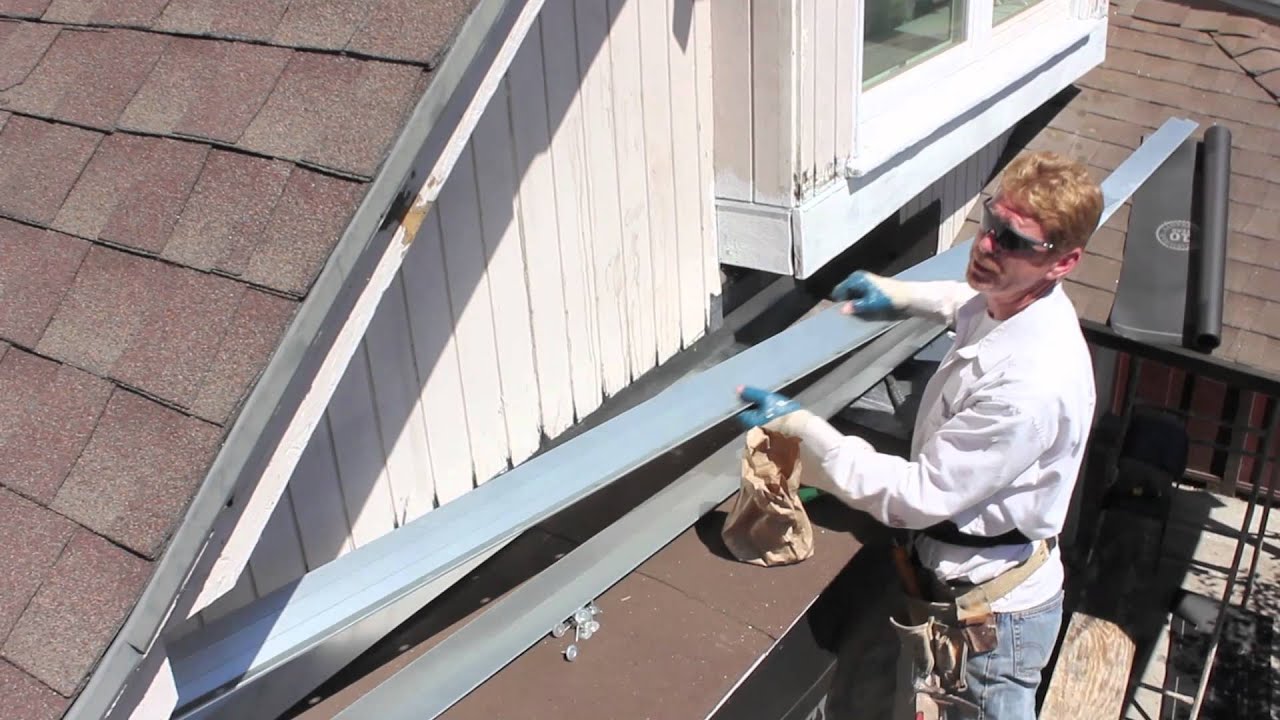
Next pre drill holes on the end and side ridges of the panels spacing the holes 6 to 8 inches apart.
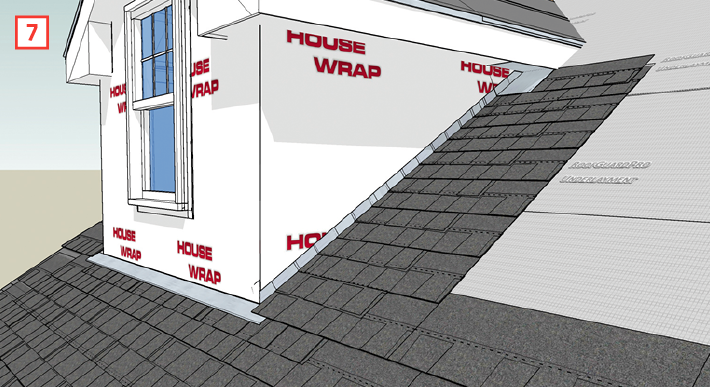
Also before you start installing your flashing you need to look to see if the wall in question has a corner on the roof face as in the image below.
Continuous flashing against a sidewall is one way to install a roof but it s not the correct way.
After this lines should be snapped every 34 as you move up the roof.
Lengths of drip vary but typically it s sold in ten foot lengths 120.
It may seem as if a single piece of flashing would offer more protection than many pieces of step flashing.
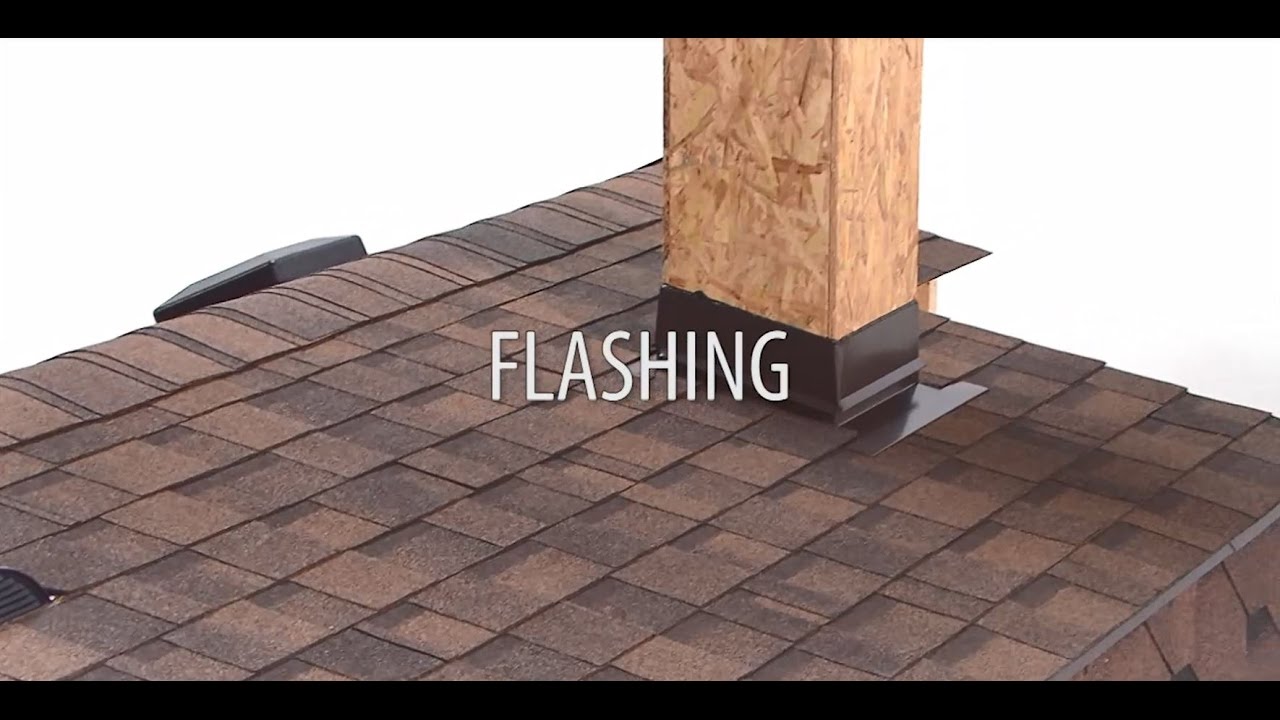
Drip edge metal valley flashing dormer chimney and kickout flashing are types of roof flashing that shed water away from the connections between roofs walls chimneys and other building assemblies.
To install corrugated roofing start by cutting your panels to length with an angle grinder.
Chalk lines should be snapped 33 5 8 above the eave line.
The base is then covered by another metal flashing piece lapped over it.
Install an underlayment centered in the roof valley.
Protect the eave from ice dams and sideways rain step one in steep slope roofing is the edge flashing.
Drip edges on the eaves any valley liners and all flashing should be installed before the tar paper is laid.
Have a helper ready to assist with this step and take care to get the lines straight and clean.
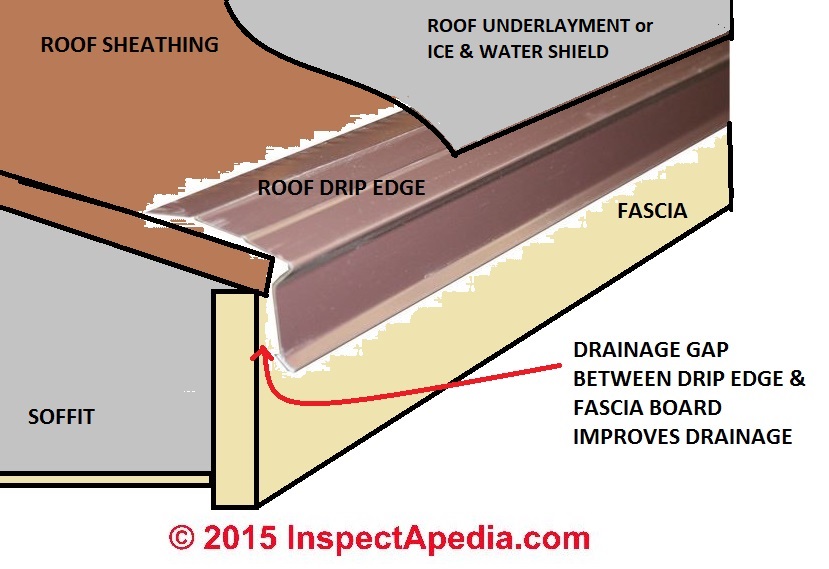
Usually you won t see much of drip edge as it s under the roof shingles under the underlayment and behind the roof gutter.
The flashing material should be 4 inches by 7 inches in length when it lies on the roof deck.
Once even a small section of roofing cement fails you ll have a leak.
Then install a non corrosive metal valley flashing of 24 minimum width lap successive sheets of metal flashing a minimum of 12 inches and seal laps.
One common method is to lay the edge.
Beginning at the outside edge of your roof place each panel directly onto the purlins that are attached to the roof trusses.
Lay the second row of shingles.
Once complete the housewrap should overlap the step flashing that s applied to the wall.
The second piece should not be fastened to the base so the two pieces can move against each other independently when the roofing materials shift.
The sketch above illustrates the end profile of roof drip edge flashing and shows its placement on the roof.
But it doesn t work that way.
Wall cladding comes next with a minimum reveal between cladding and roofing of one inch.